News post
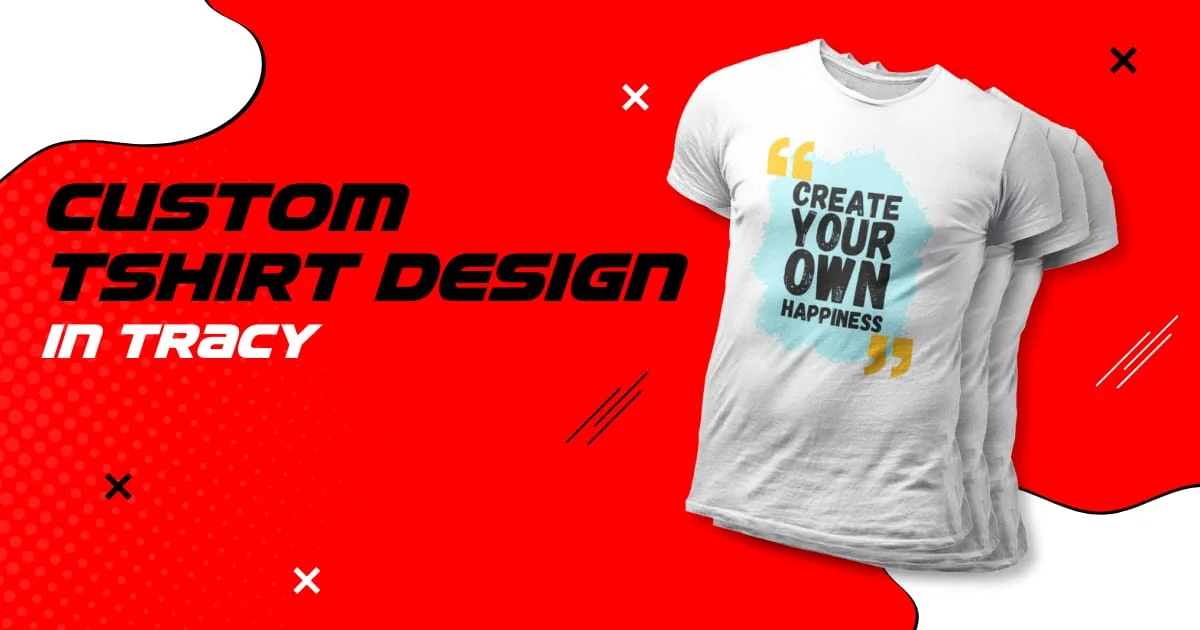
How to Design Your Own Custom T-Shirt: A Step-by-Step Guide
Designing your own custom t-shirt is an exciting way to express your creativity, show off your unique style, or create personalized gifts. Whether you're making a one-of-a-kind shirt for yourself or crafting a batch for a special event, the process can be fun and straightforward. Below is a detailed, step-by-step guide on how to design your own custom t-shirt, from brainstorming ideas to getting the perfect print.
1. Choosing Your T-Shirt Style
The first step in designing a custom t-shirt is selecting the right base. This decision is essential because the style of the shirt will affect the overall look of your design.
- Type of Shirt: Start by choosing the type of t-shirt you want to customize. Popular options include:
- Classic T-Shirts: These are your standard crew-neck shirts, ideal for casual wear.
- V-neck T-Shirts: A trendy option with a V-shaped neckline, adding a slightly more fashionable vibe.
- Tank Tops: Perfect for warmer weather or athletic activities.
- Hoodies and Sweatshirts: Ideal for a cozy design in colder seasons.
- Fit: Choose from regular, slim, or oversized fits, depending on your preferred style.
- Material: Select from a variety of fabrics such as cotton, polyester, or blends, depending on comfort and durability preferences.
2. Defining Your Design Concept
Now that you have chosen your base, it’s time to get creative. Designing a t-shirt can be as simple or as intricate as you want it to be. Here’s how to approach the creative process:
- Theme: Start by deciding on the overall theme of your design. Are you making a t-shirt for a sports team, a family reunion, a concert, or simply a fun personal design? Defining a theme will help guide your choices for colors, fonts, and graphics.
- Colors: Think about the color scheme for your design. What will complement the color of the shirt? You can use contrasting colors for a bold look or stick to similar hues for a more subtle design. Keep in mind that bright colors on dark shirts or vice versa tend to stand out more.
- Graphics and Text: Incorporate both images and text into your design. The images can range from logos, illustrations, and photographs to abstract art, while the text can include catchy phrases, quotes, or slogans. If you're not sure where to start, sketch a few ideas on paper or create mood boards online.
3. Using Online Design Tools
Once you have your concept, it's time to bring your design to life. Online design platforms like iCustom Tracy make the process easier than ever. These tools offer user-friendly interfaces that allow you to drag and drop elements onto your t-shirt template.
- Start with a Template: Most design platforms offer pre-made templates to get you started. You can select a basic template that suits your style and modify it by adding your graphics and text.
- Upload Your Artwork: If you have a logo or custom graphic you'd like to include, simply upload it to the design tool. Many platforms accept file formats like JPG, PNG, and SVG.
- Add Text: Customize the text by selecting fonts, colors, and sizes. Ensure the font is legible and matches the theme of your design. Play with different placements (centered, aligned left, etc.) to find the most visually appealing arrangement.
- Adjust Positioning and Size: Use the platform's tools to resize and position your graphics and text to fit perfectly on your shirt. Make sure everything is aligned properly before finalizing your design.
4. Choosing the Right Printing Method
The next step is selecting a printing method that will best showcase your design. Different printing techniques are available depending on the look and feel you want:
- Screen Printing: A classic method where ink is pushed through a mesh screen to create the design. This is ideal for bulk orders and designs with fewer colors.
- Direct-to-Garment (DTG) Printing: This process involves printing the design directly onto the fabric using inkjet technology. It's great for complex, multi-colored designs with high detail.
- Heat Transfer Vinyl: Vinyl is cut into shapes and then heat-pressed onto the fabric. This method works well for simple designs and provides a durable, vibrant finish.
- Sublimation: Best for polyester fabrics, sublimation involves printing your design onto a transfer paper and then using heat to embed it into the fabric. The result is a smooth, durable print that won’t fade over time.
- Embroidery: If you want a more professional look, consider embroidery, especially for logos or smaller, text-based designs. This method is particularly popular for custom hats and apparel with small, detailed designs.
5. Ordering Your Custom T-Shirt
Once you're happy with your design and have chosen your printing method, it’s time to order your custom t-shirt. Here are a few things to keep in mind during this process:
- Check the Quality: Ensure that the printing service you choose uses high-quality materials and printing methods. Low-quality prints can fade or peel over time, affecting the longevity of your design.
- Order a Sample: If possible, order a sample of your design before placing a bulk order. This will give you a chance to inspect the quality of the print, fabric, and overall fit.
- Delivery Times: Make sure you know the estimated delivery time for your custom t-shirt, especially if you need it for a specific event. Many services offer expedited shipping options.
6. Promoting Your Custom T-Shirt Design
Once your custom t-shirt is ready, it’s time to show it off! If you're making these shirts for a business or event, promoting your design is essential to getting the word out.
- Social Media: Share images of your new custom t-shirts on Instagram, Facebook, and Twitter. Consider using hashtags like #customtshirts, #personalizedfashion, or #iCustomTracy to reach a wider audience.
- Personal Events: If you’re designing for an event, such as a family reunion or school function, make sure everyone in attendance wears their shirt to create a unified look and spread the word about your design.
- Selling Online: If you're designing t-shirts for a business, consider setting up an online shop through platforms like Etsy, Shopify, or even your own website. Promote your custom designs through online ads and social media to drive traffic.
7. Taking Care of Your Custom T-Shirt
To ensure your custom t-shirt lasts a long time, proper care is essential:
- Washing Instructions: Follow the care instructions provided by your printing service. Typically, it’s best to wash custom shirts inside out in cold water to preserve the print.
- Avoid Drying on High Heat: Excessive heat can cause prints to fade or peel. Air-dry your t-shirt or tumble dry on a low setting.
- Ironing: If needed, iron your shirt inside out on a low setting. Avoid ironing directly over the printed design.
Conclusion
Designing your own custom t-shirt is a fun and creative process that allows you to express your personal style. Whether you're creating a unique shirt for yourself or making a special design for a group or event, the possibilities are endless. With tools like iCustom Tracy, you can bring your vision to life with ease and precision. Remember to choose the right base, get creative with your design, select the best printing method, and take good care of your shirt after printing. With the right approach, your custom t-shirt will be a lasting and meaningful piece of clothing!